Rear Door Strut Installation Tips
We are working on a full detailed install video, but here's some written tips and important notes in the meantime!
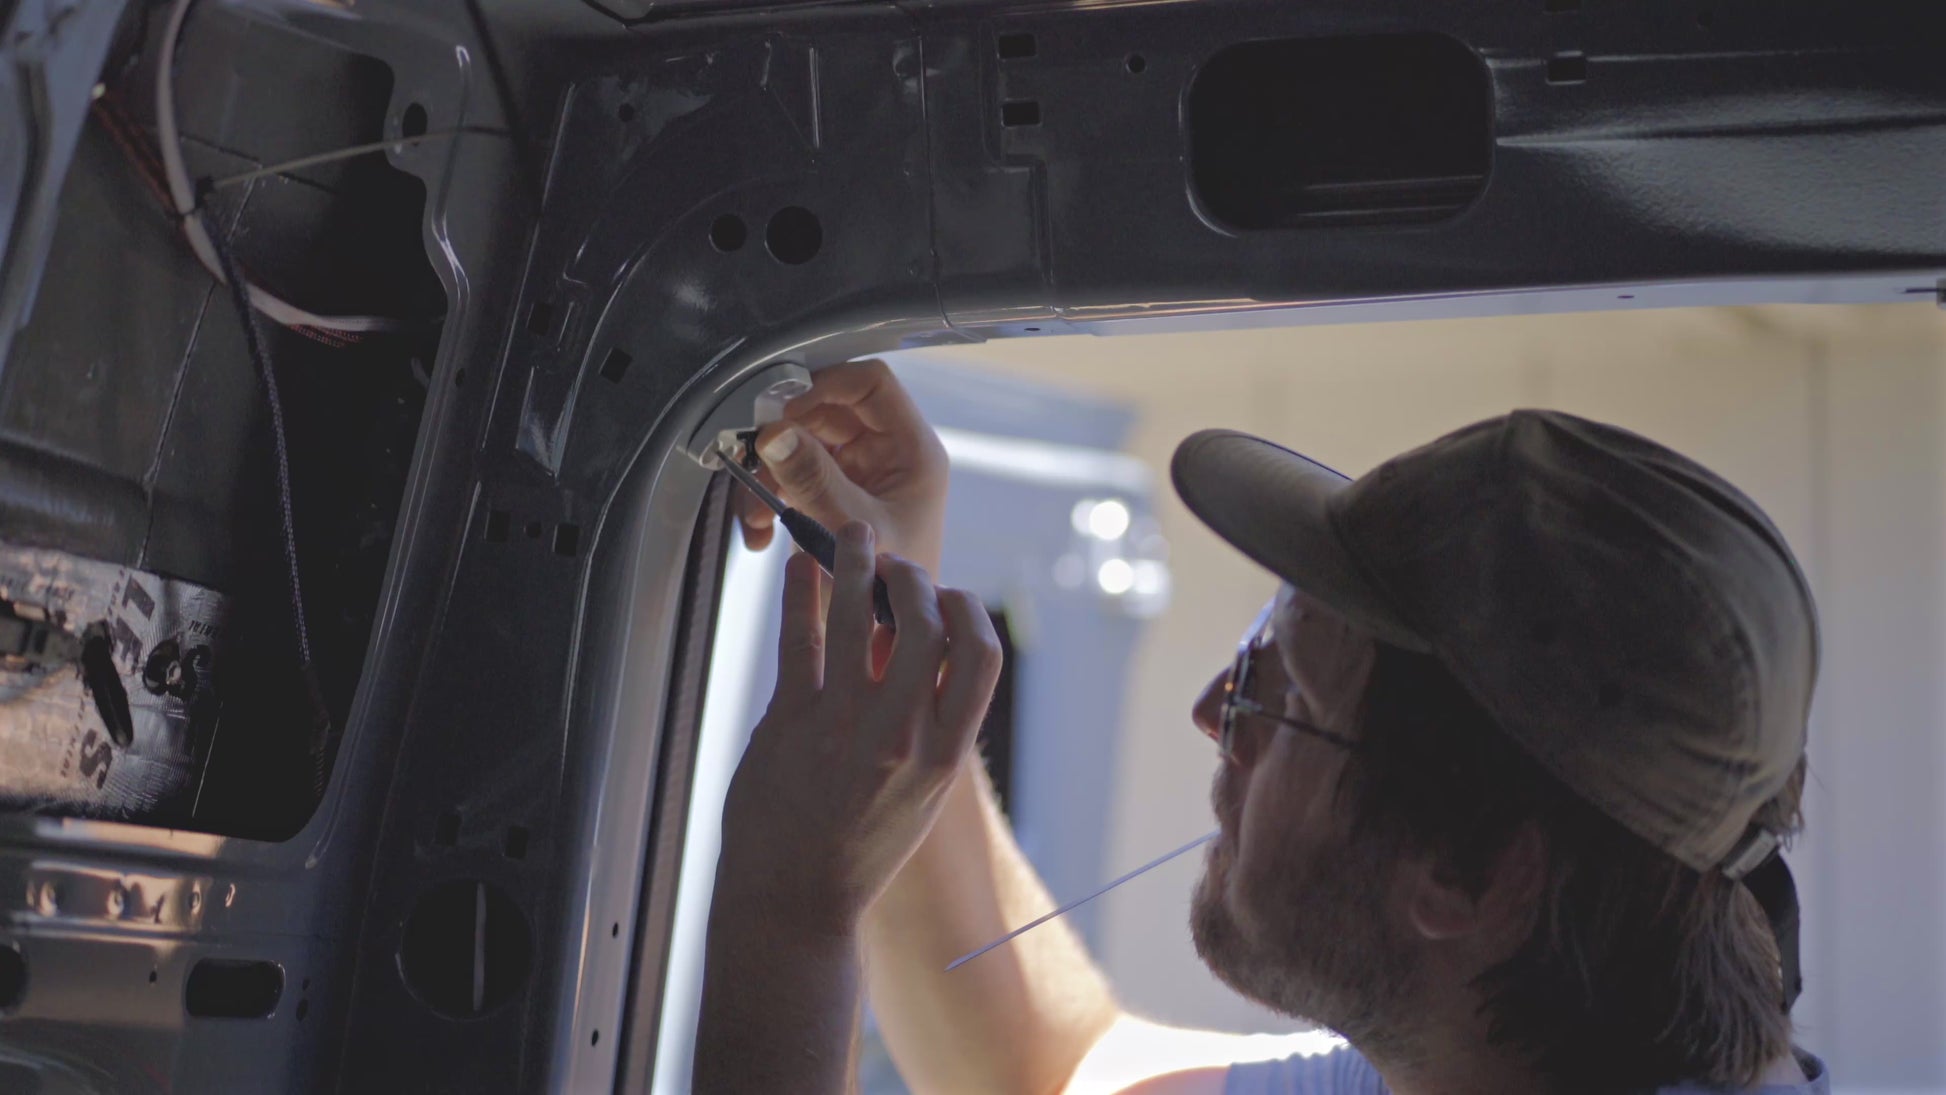
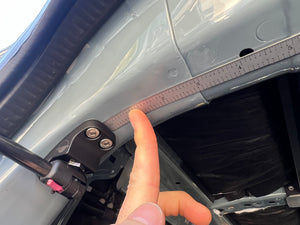
Mounting the Frame Pieces
The frame pieces sit 2.9" (~74mm) away from the seam shown below. I like to draw a line at this distance and then line up the bracket centered on the frame and use it to mark the hole locations with a sharpie.
!IMPORTANT: Once the locations are marked it's very important that you follow proper rivnuting best practices to ensure you get your rivnuts set in the right place. There is not a lot of margin for error here, so if you don't feel comfortable or confident or have the right tools, professional installation in recommended.
- Centerpunch each hole location
- Center drill or pilot drill with a nice sharp small sided split tip colbalt or purpose made center drill
- Drill to size using a stepped tip 25/64" (10mm) drill bit
- Debur the front & most importantly back side of the hole. **NOTE: Failure to debur the back of the hole correctly causes rivnuts to not set straight. I like to use a classic deburring tool for the front and the Noga RC2200 for the back.
- Apply anti-corrosion measures. We like Marine Grade Anti-seize.
- Use a quality rivnut tool. Pnuematic Pull style are the best. We use an Astro PRN1. When you set the rivnuts make sure the setter is tangent to the framing curve for each rivnut!
Mounting the Door Pieces
The door pieces are designed so you only need to remove 2 out of the 3 screws on each door (leaving this door latch adjusted in place). Hold the piece up to see which door screws need to be removed. Remove them and then install the door pieces with the same screws.
Installing the Struts
For the struts to work correctly the rod end needs to be pointed toward the inside of the van when the doors are open. This keeps them slightly slopped downward with keeps the shaft lubricated and makes it so the oil bleed functions correctly.

